
Campervan Fitout – Origo Stove Test
Dometic Origo Stove Test
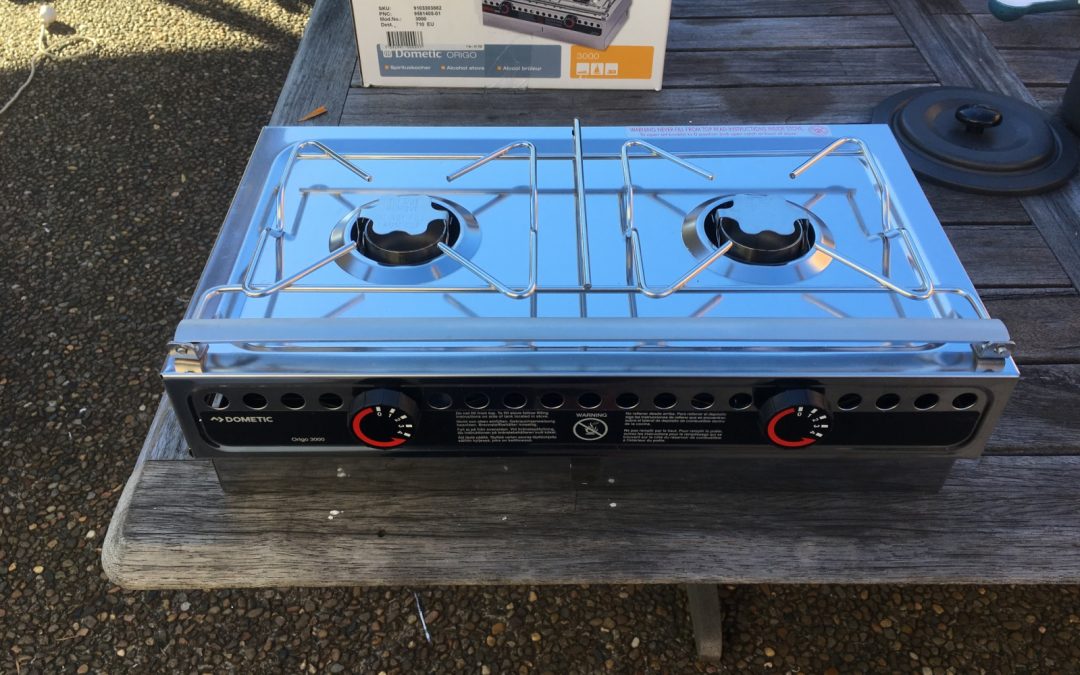
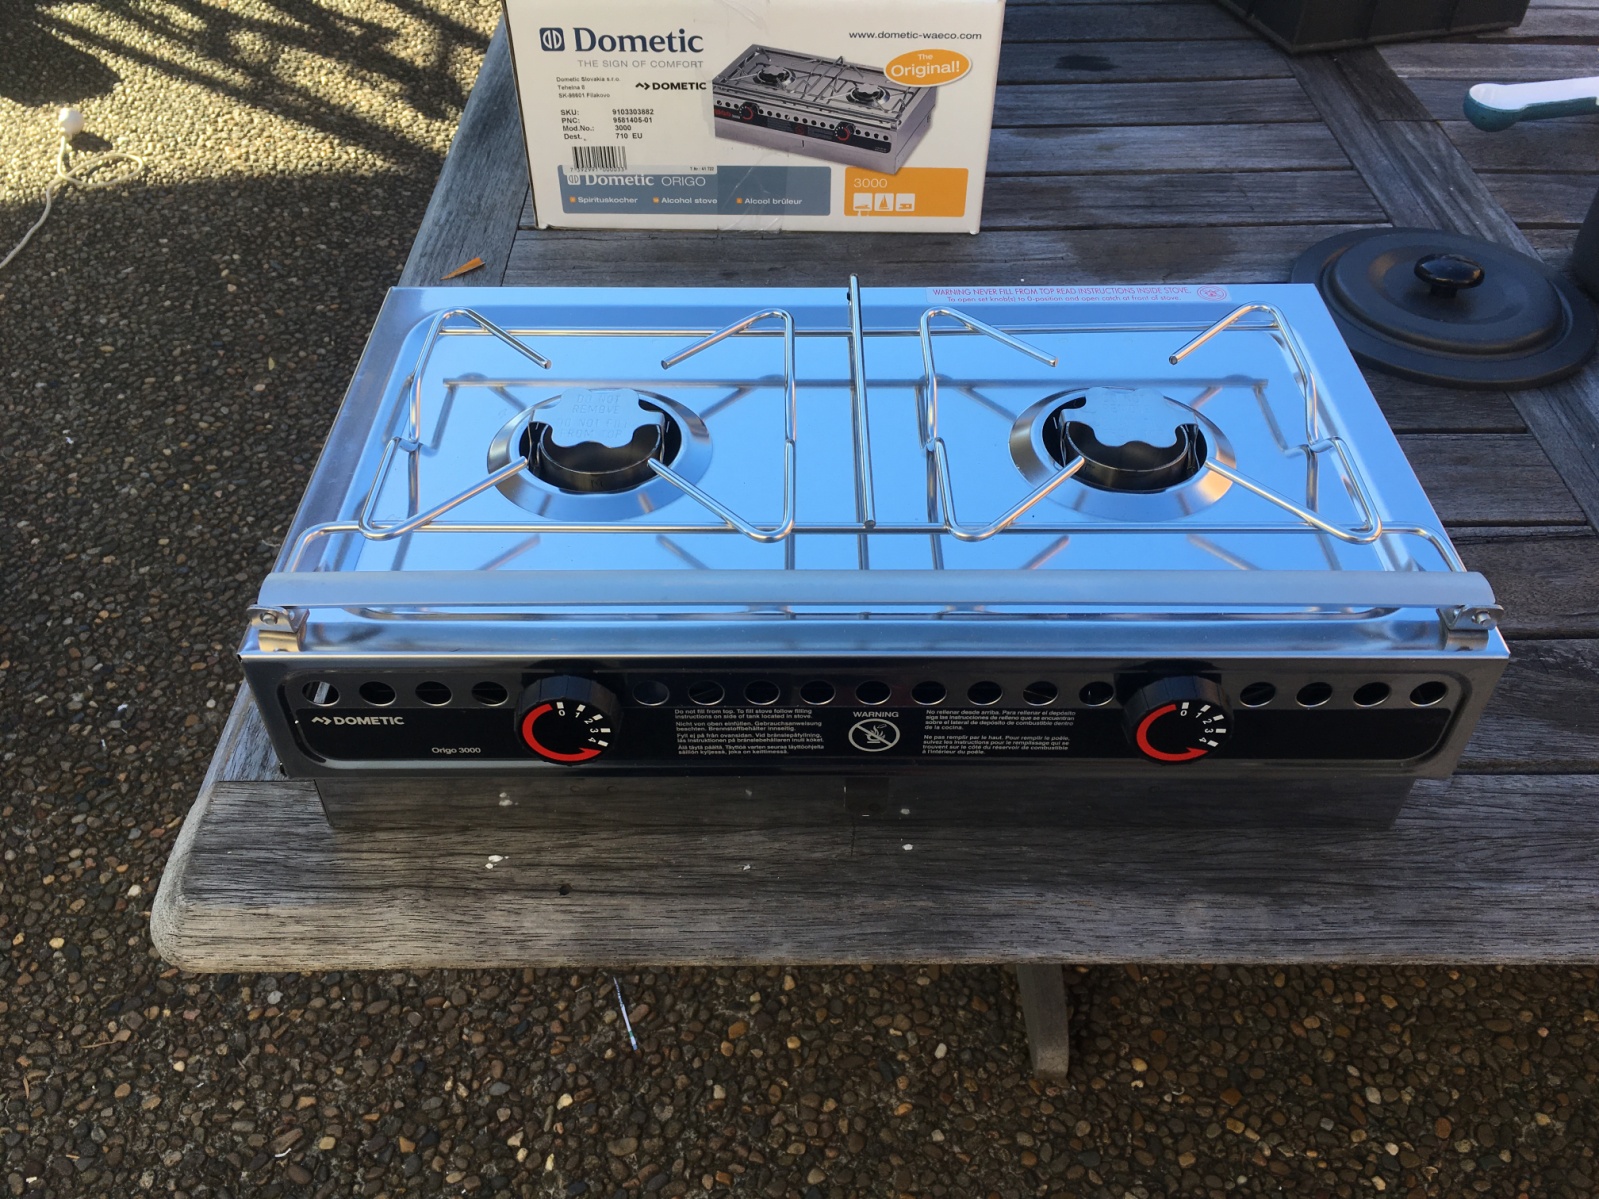
Some time ago I bought a Dometic Origo 3000 two burner alcohol stove for use in our campervan.
I didn’t want to install gas in the van as I was happy with a two way 12v/240v fridge and will be using diesel hot water and heating. I also don’t like those cheap canister gas stoves as I worry what temperature the car gets to during the day. It would be nice to have a gas BBQ though, so I am trying to work out how to carry a 4kg gas bottle, however I learnt that you can not ( or should not) carry them lying down and that is the only way for one to fit under the car. Another option is to fit a sealed gas cabinet to the inside of the car just to store the gas bottle and have it vented outside in case of a problem – but that’s another project to add to the ever growing list of things to do.
I thought I better test it out as ski season is approaching fast and this year I am going to try to eat out of the van rather than spend ”Thredbo Dollars”.
We have already worked out how to do the first two meals of the day on the cheap with our “up-and-go / oat bar” breakfast and our “down-the-pants” cheese burgers or pizza lunch. However, dinner is a bit more difficult and socially it is easier to go to the pub and have a few beers and a bistro meal with the guys. I calculated that it was costing me about $100 per night for beer and two meals at the Local which had to stop. It can get particularly expensive if you follow that up with a bakery breakfast of bacon and egg roll or meat pie as a heart starter and then a coffee and cake for “morno”, add fuel and sundries and the weekend can cost about $400 before you even hit the slopes. Due to mental stress I won’t even attempt to add up the cost of our seasons passes, skis and equipment.
However one of the prerequisites for being able to cook and eat in the car in the cold is a heater – which be the next project followed by the water tanks etc.
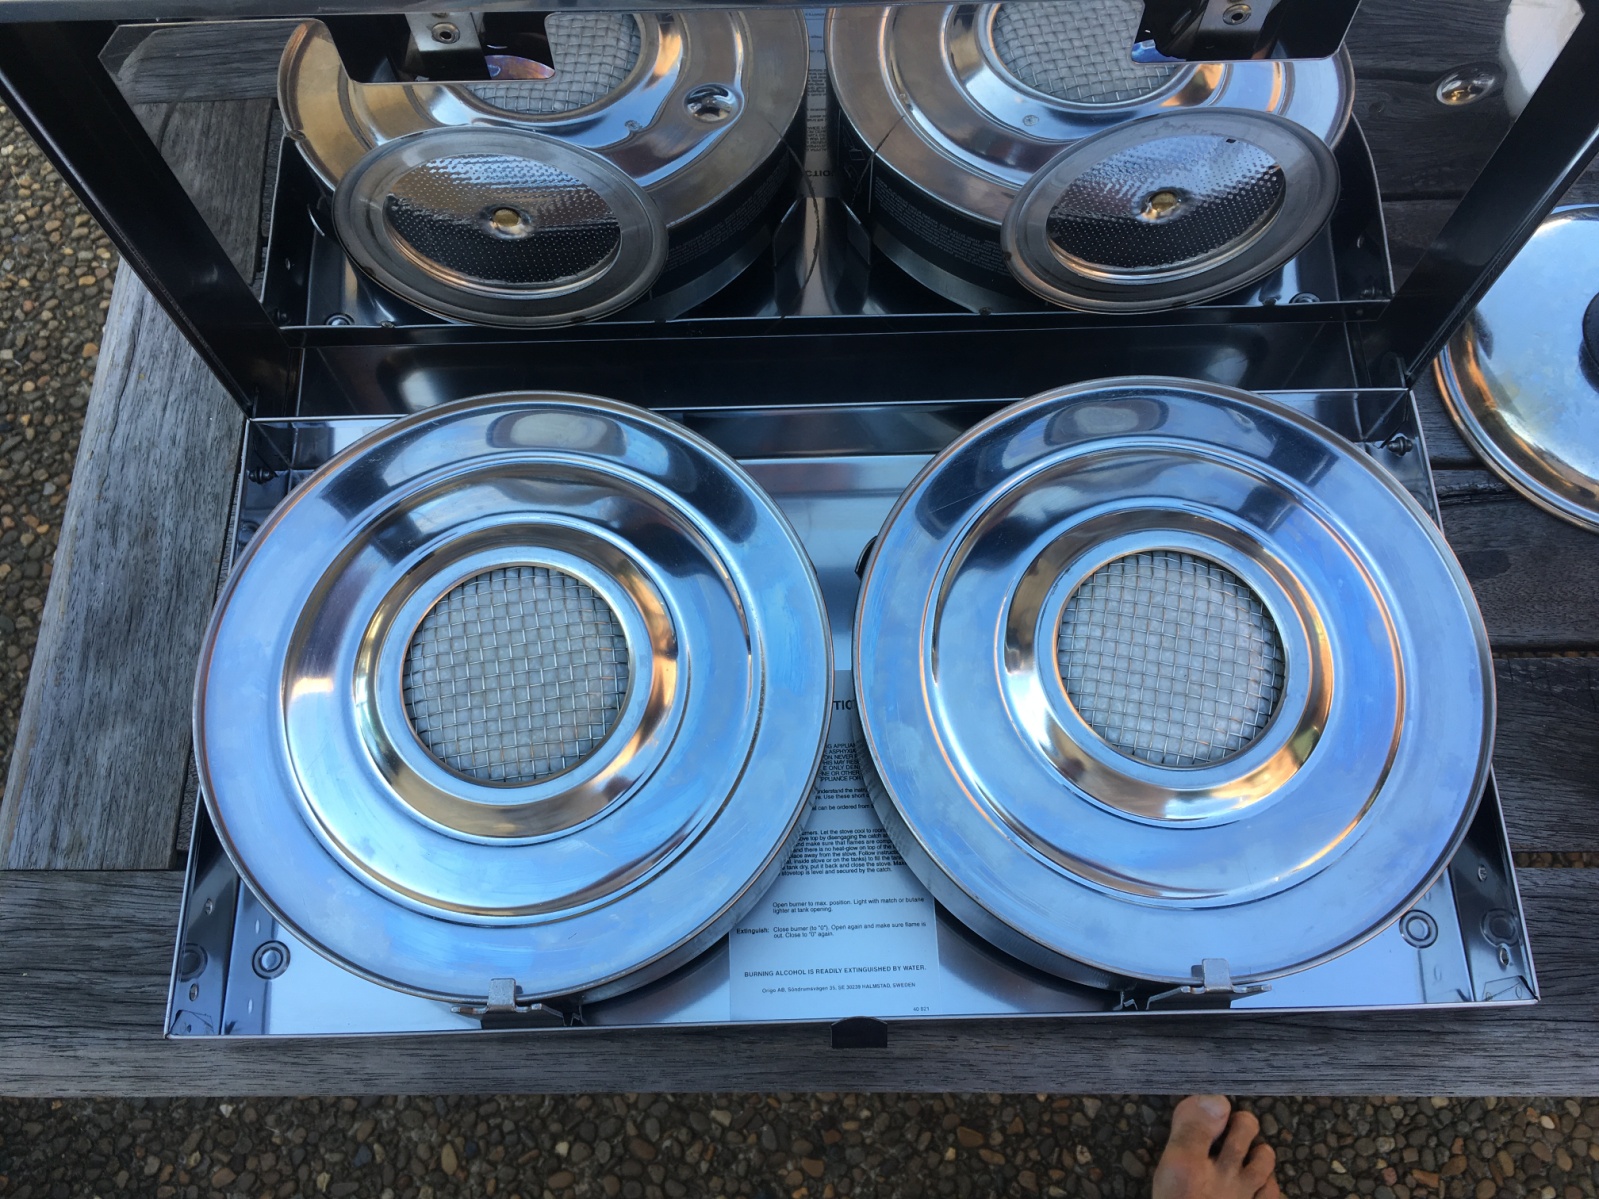
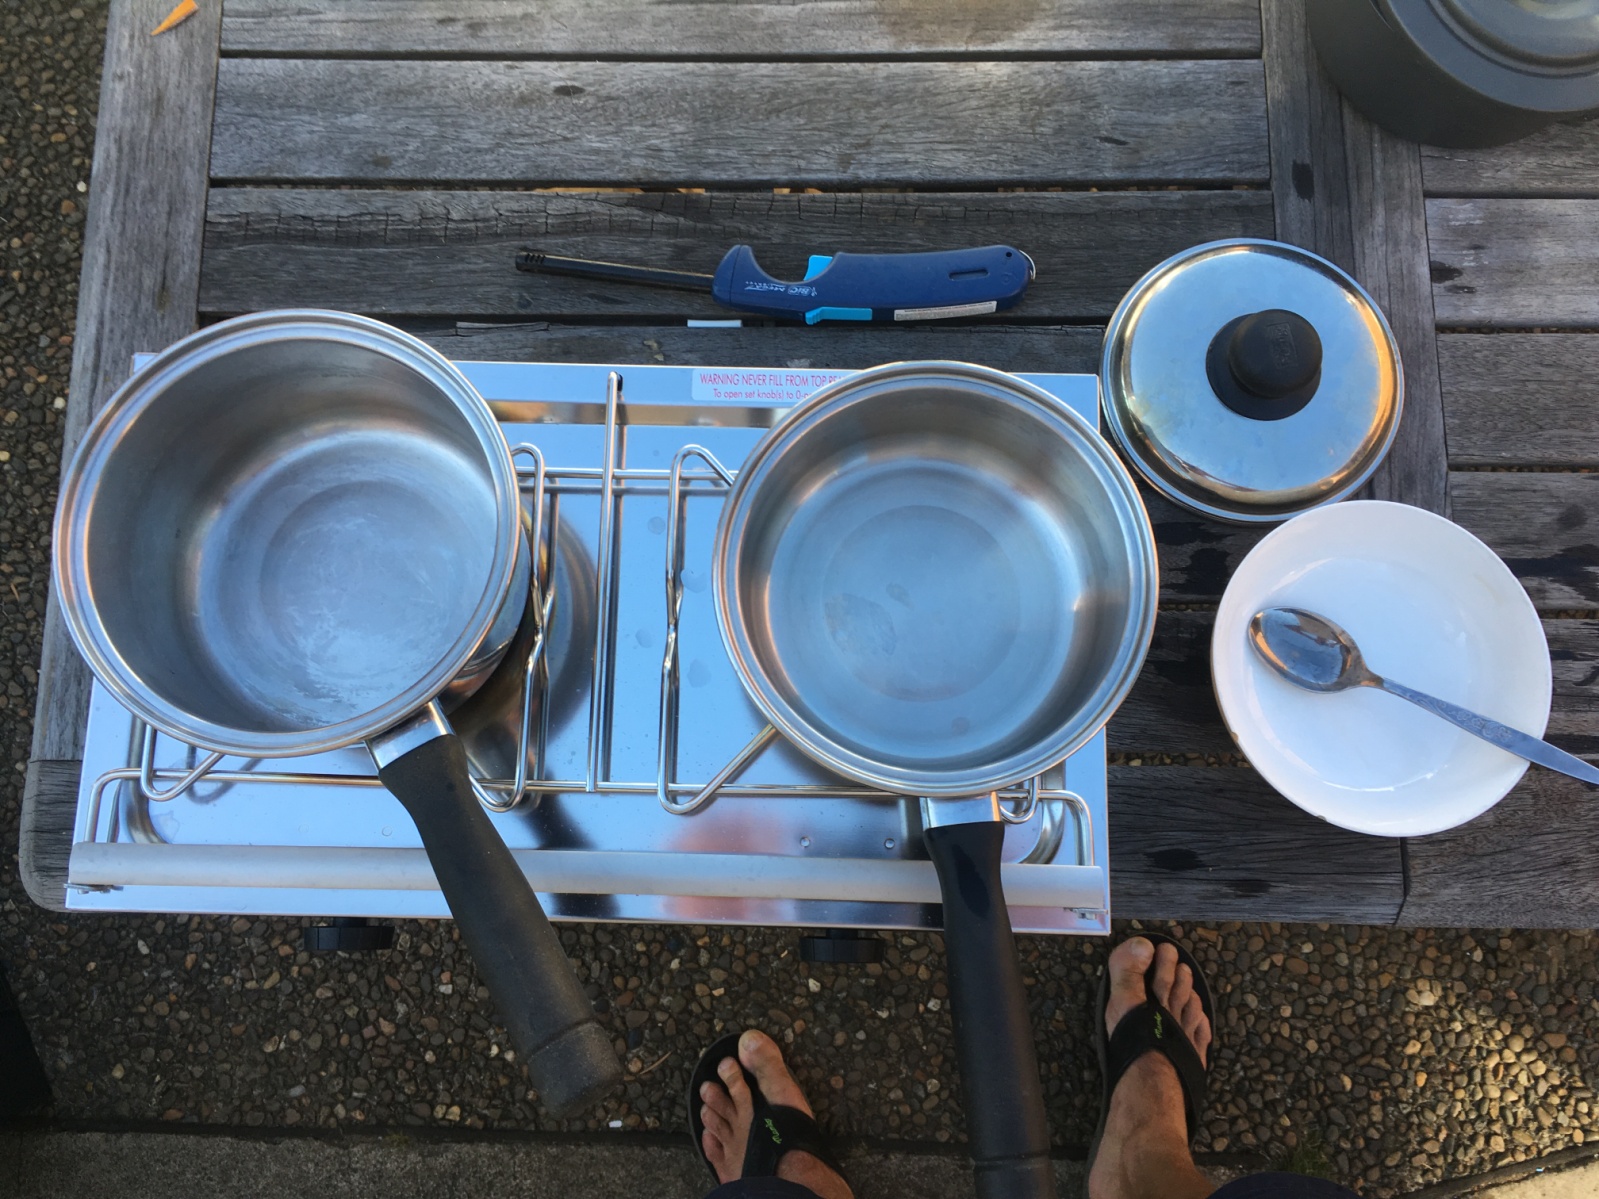
When I opened the stove I was shocked to find no tank and two open canisters. our previous campervan had a metho stove that had a tank and produced the flame by running the fuel delivery pipe thru the burner to turn it into gas and to get it to ignite you had to let liquid fuel spill over into a small tray under the burner and light it and it would flare up and then once hot it would turn into gas and light the burner. This was a dangerous method as if you let too much liquid run in it could spill over then when you light it it is a raging flame in your face.
This stove has canisters that have some fibre in them to absorb the metho and then they seal to the underside of the burner which has a “trap-door” mechanism allowing you to to vary the amount of flame and close off completely to extinguish.
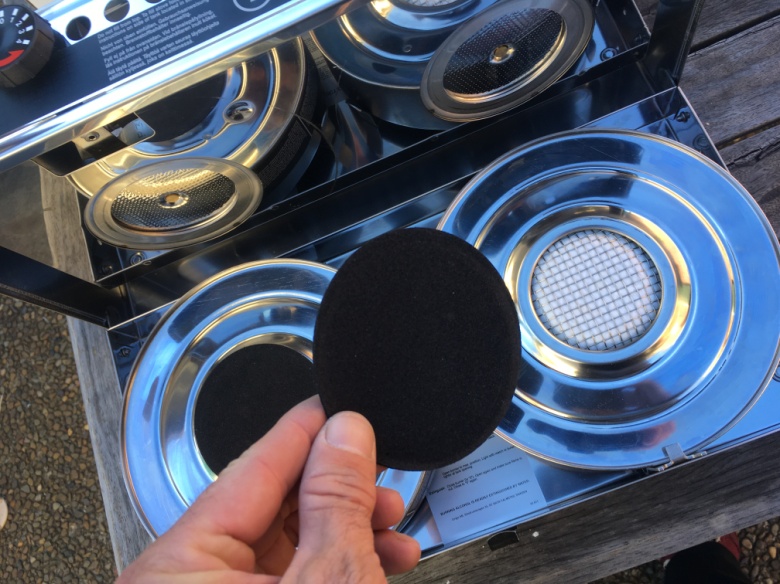
It came with these neoprene pads to put over the holes when not in use to stop fuel venting thru the burner
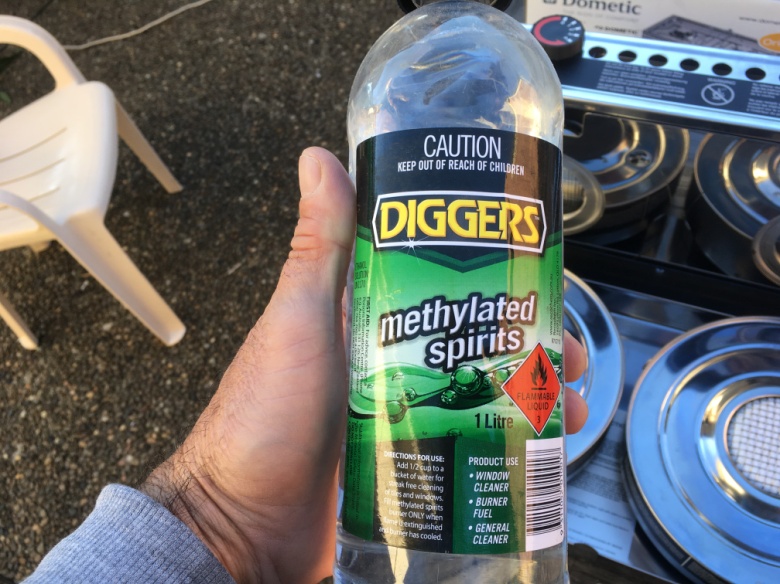
The canisters are easy to fill and have a maximum capacity of about 1.2 litres or a bottle each. I just poured a cup full in as it won’t be used every week.
The two tests I wanted to do was cooking and then boiling water to clean up since I have not yet installed a hot water service in the van.
I propose to potentially cook a hot breakfast of porridge or bacon and eggs depending on my mood.
Dinner would be kept simple to make life easier and for this I will bring some pre cooked meals to re heat like mince and pasta or chicken and rice or tuna and noodles. The main thing I want to avoid is cooking fatty foods and making a smell and mess in the van.
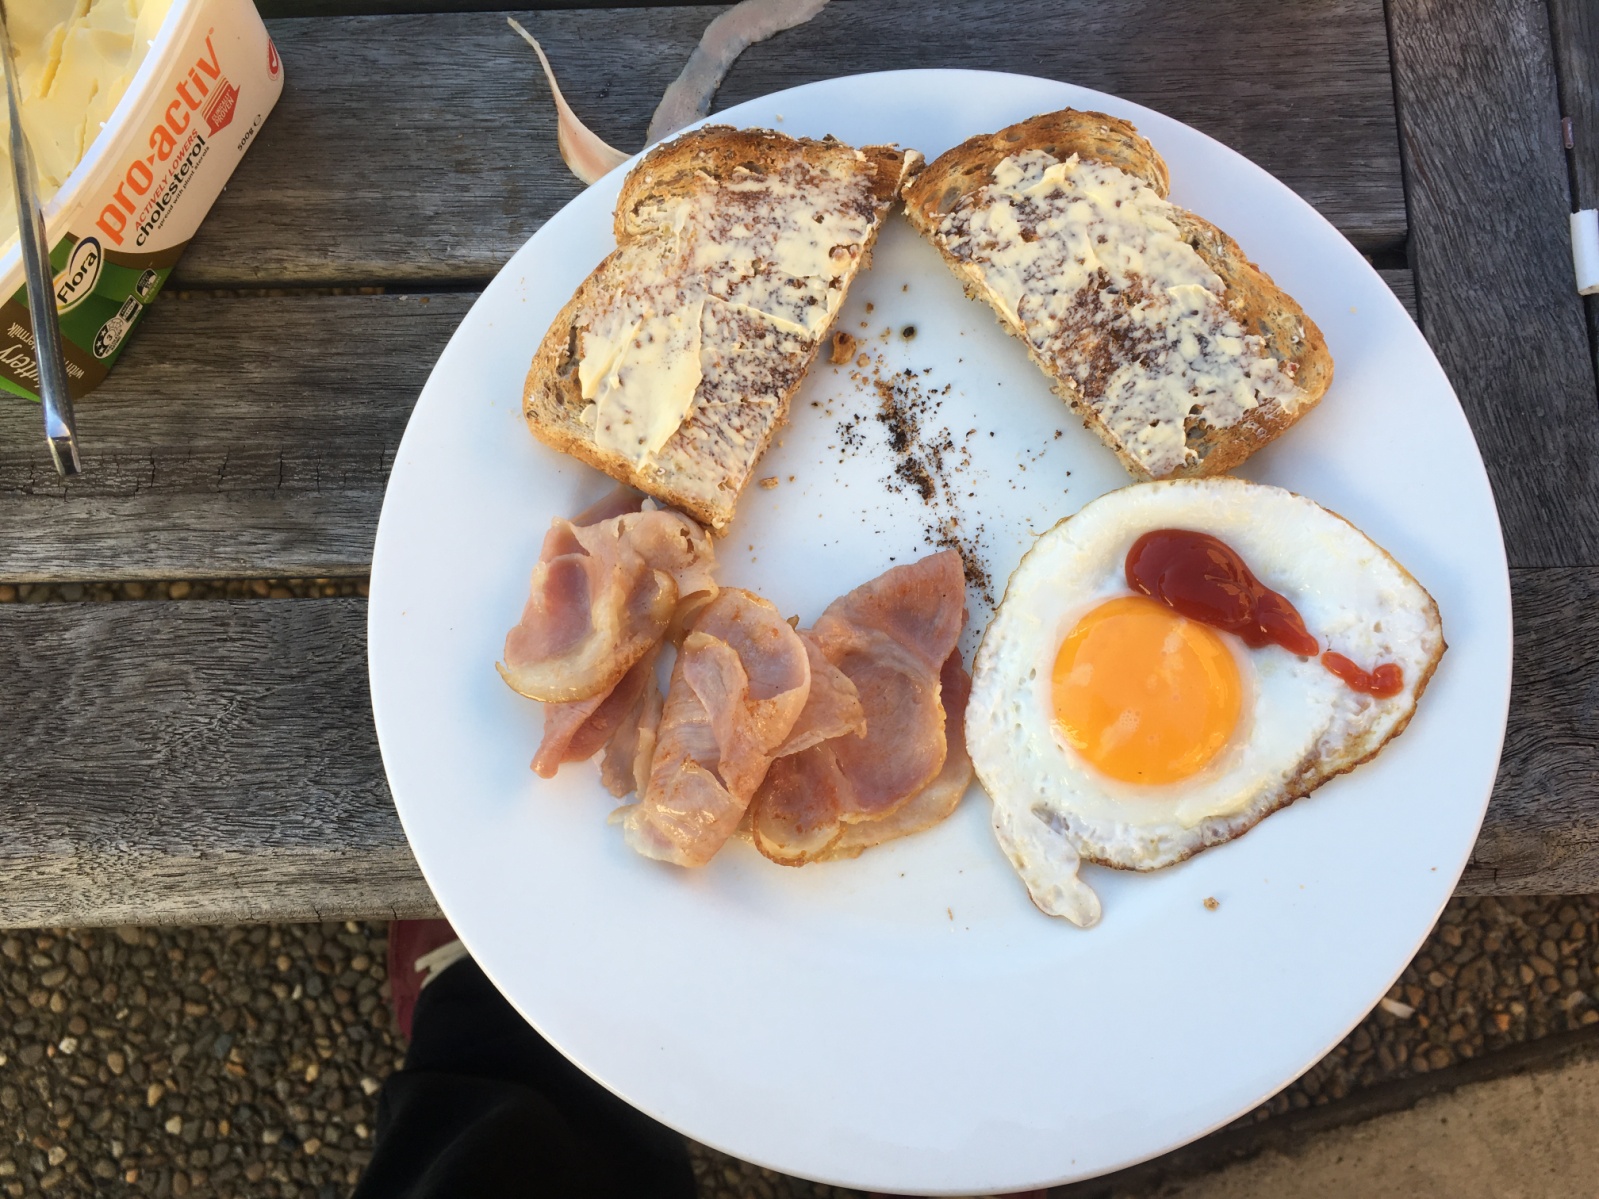
Bacon and eggs for breakfast was the first test which was quick and very easy.
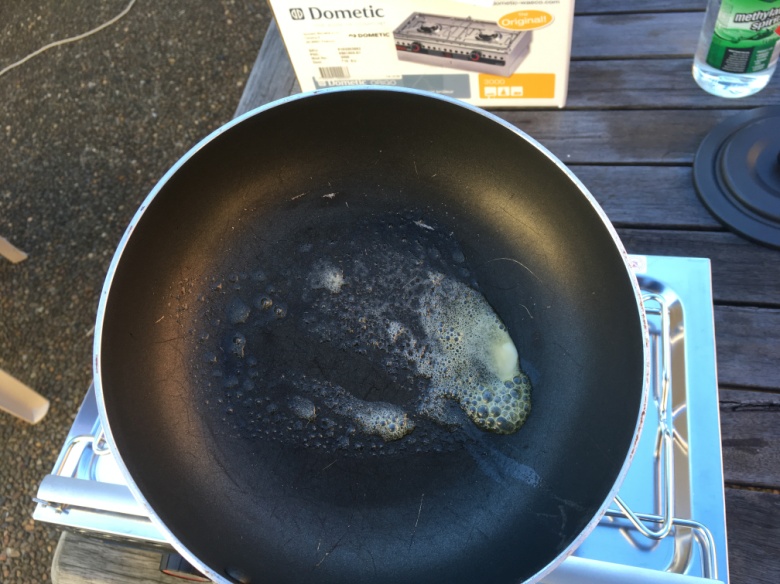
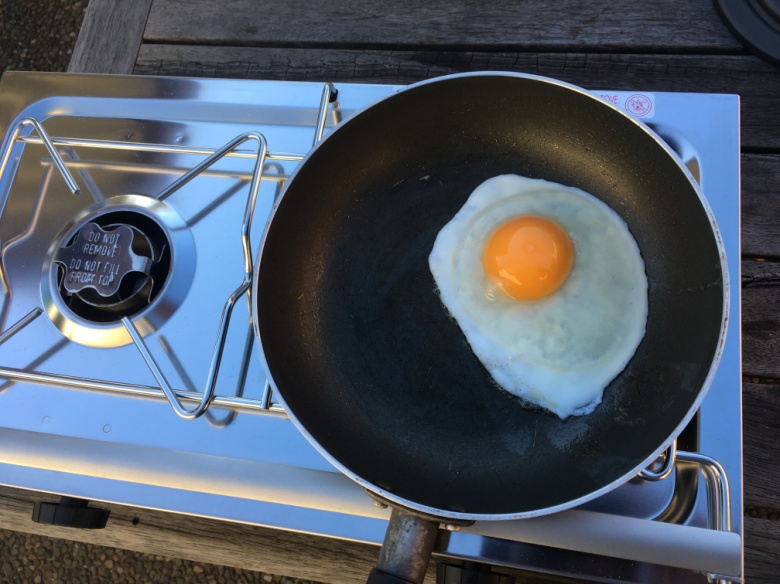
After a few seconds on the stove the butter melted and I added the egg which cooked pretty quickly on the number 2 setting.
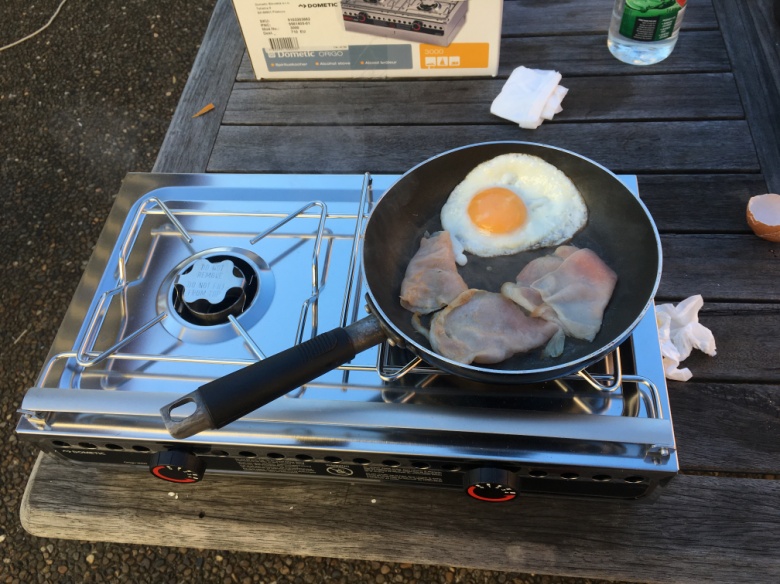
I had to turn it down once I put the ham in as it was sizzling too much and was very thinly sliced which is preferable over bacon due to less fat and splatter when cooking in the van.
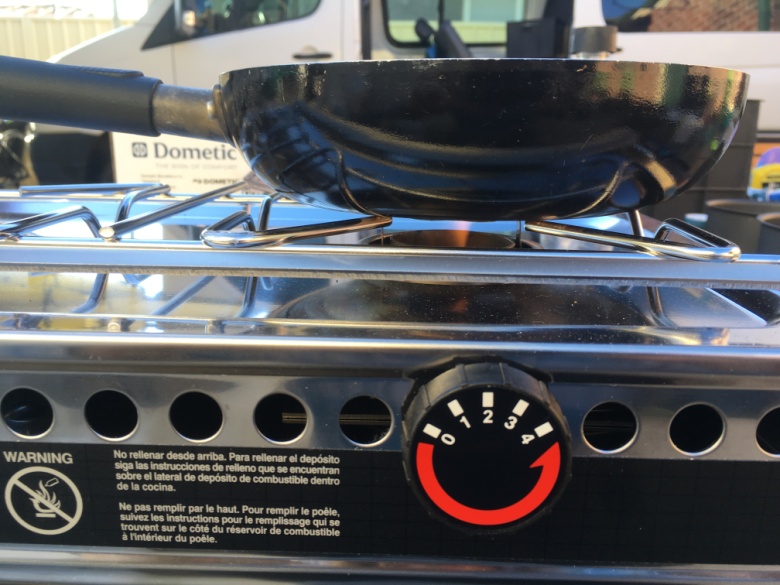
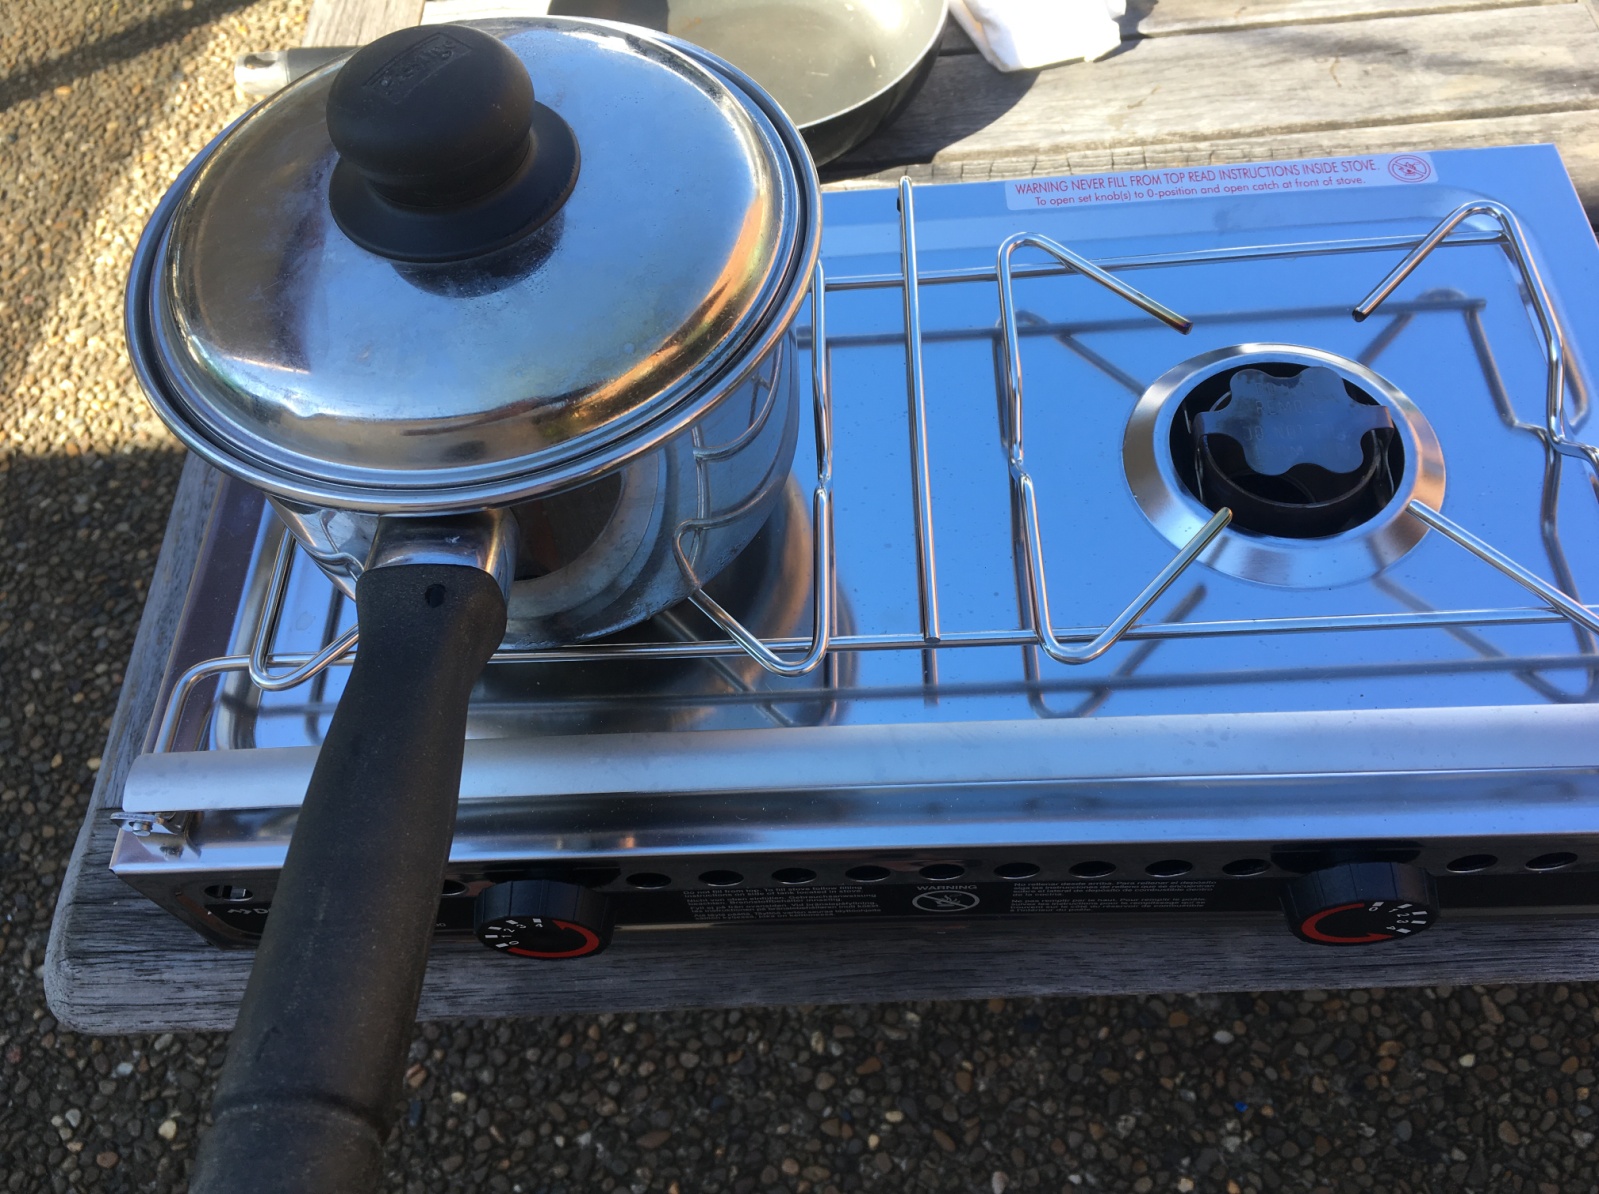
I wanted to know how long it would take to boil water so i measured 1 litre into a saucepan and cranked up the burner to number 4 and whilst it heated up I prepared the meal.
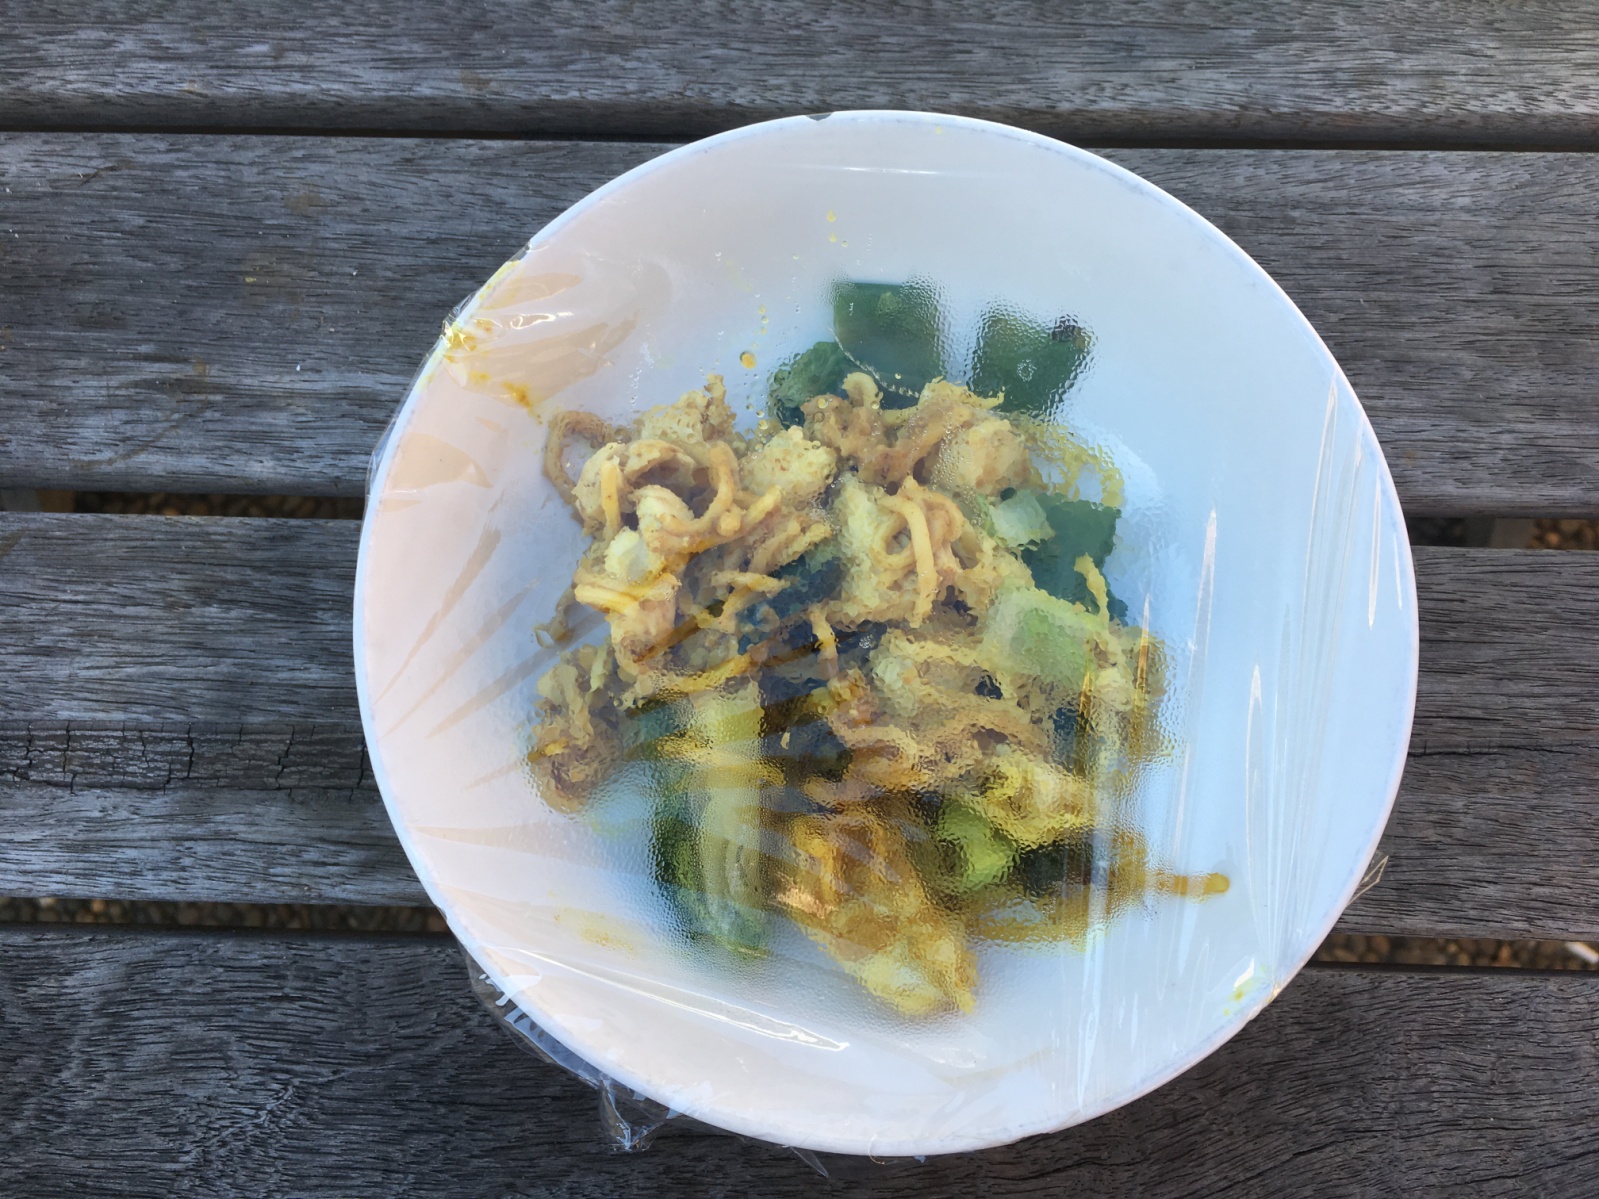
I had some leftover chicken and vegetables with Singapore noodles from last night’s meal. This was a perfect test as it would be similar to what I would bring with us to eat during the winter.
I took the chicken straight out of the fridge so it was cold and put it in a saucepan and turned the stove down to low.
I also put a bit of water in the saucepan so it would not burn on to the bottom.
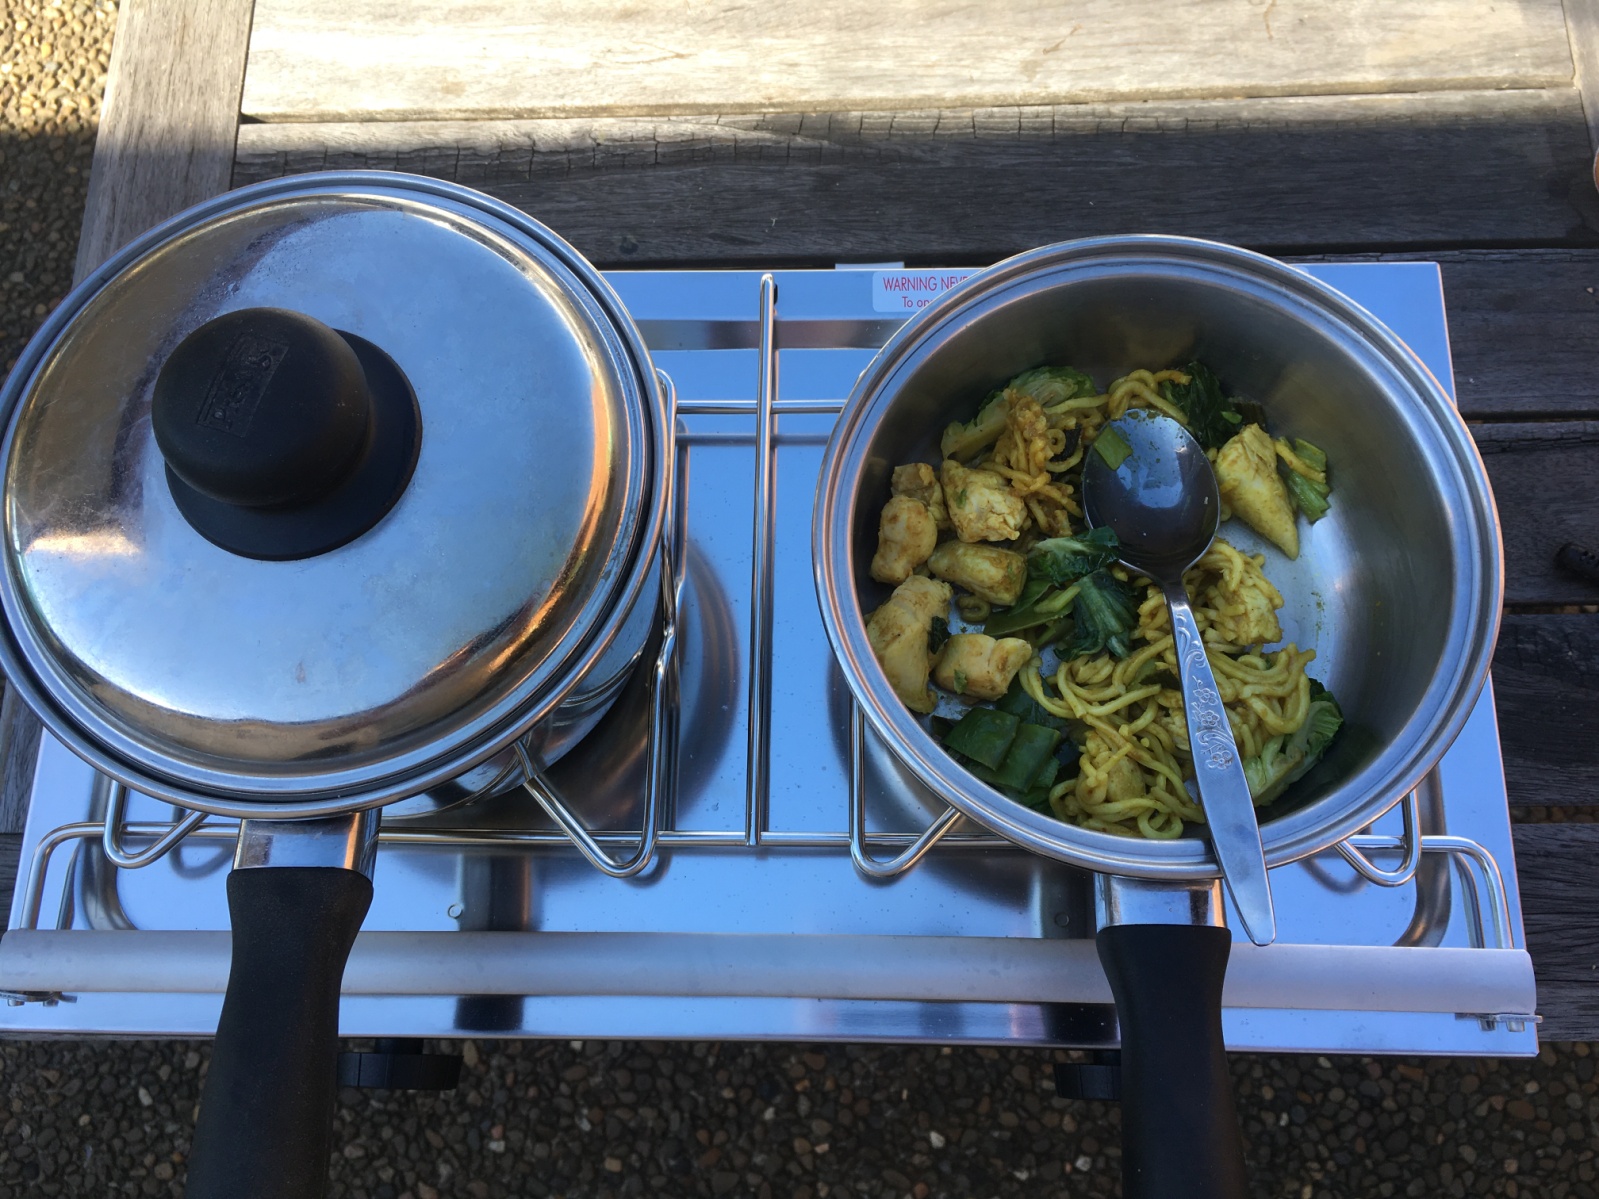
The food was heated in few minutes on number 1 with the lid on and then another couple of minutes stirring on number 2 with the lid off.
The water took about 10 minutes to boil however it was windy, by the time I had eaten the food it had boiled so i was ready for washing up.
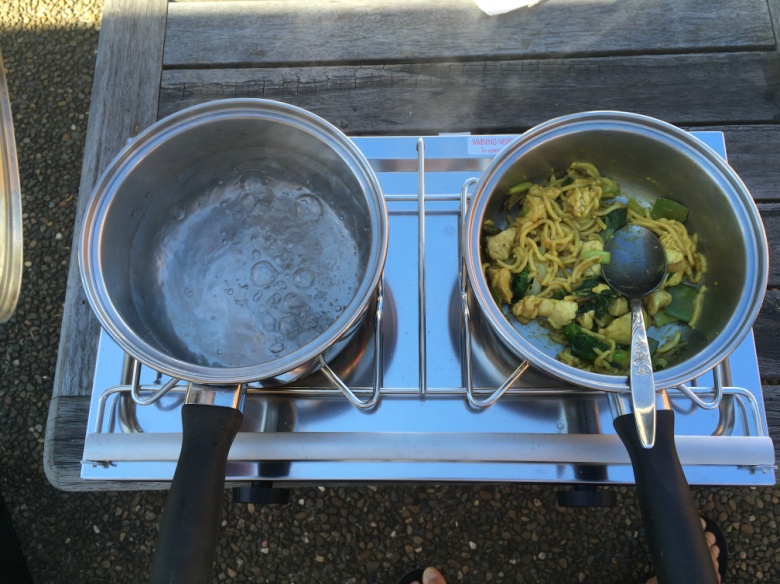
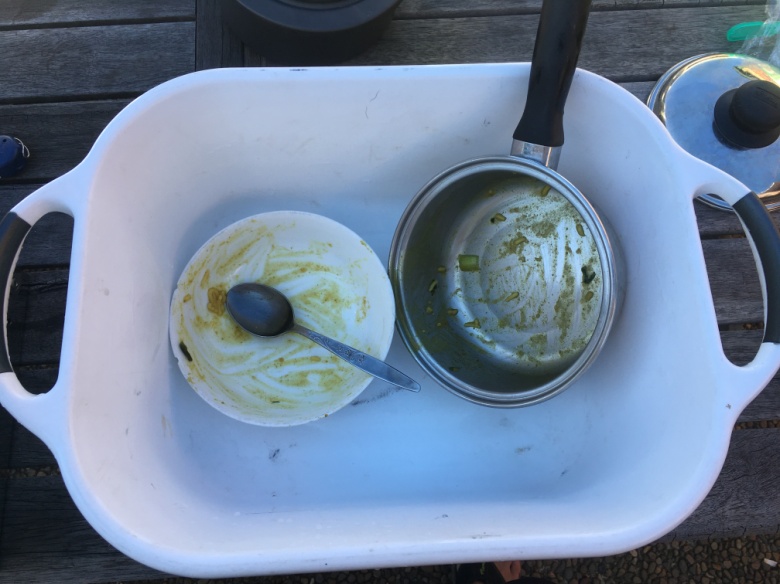
If you use it sparingly 1 litre of water would easily be enough to wash up two plates and two saucepans/frypans
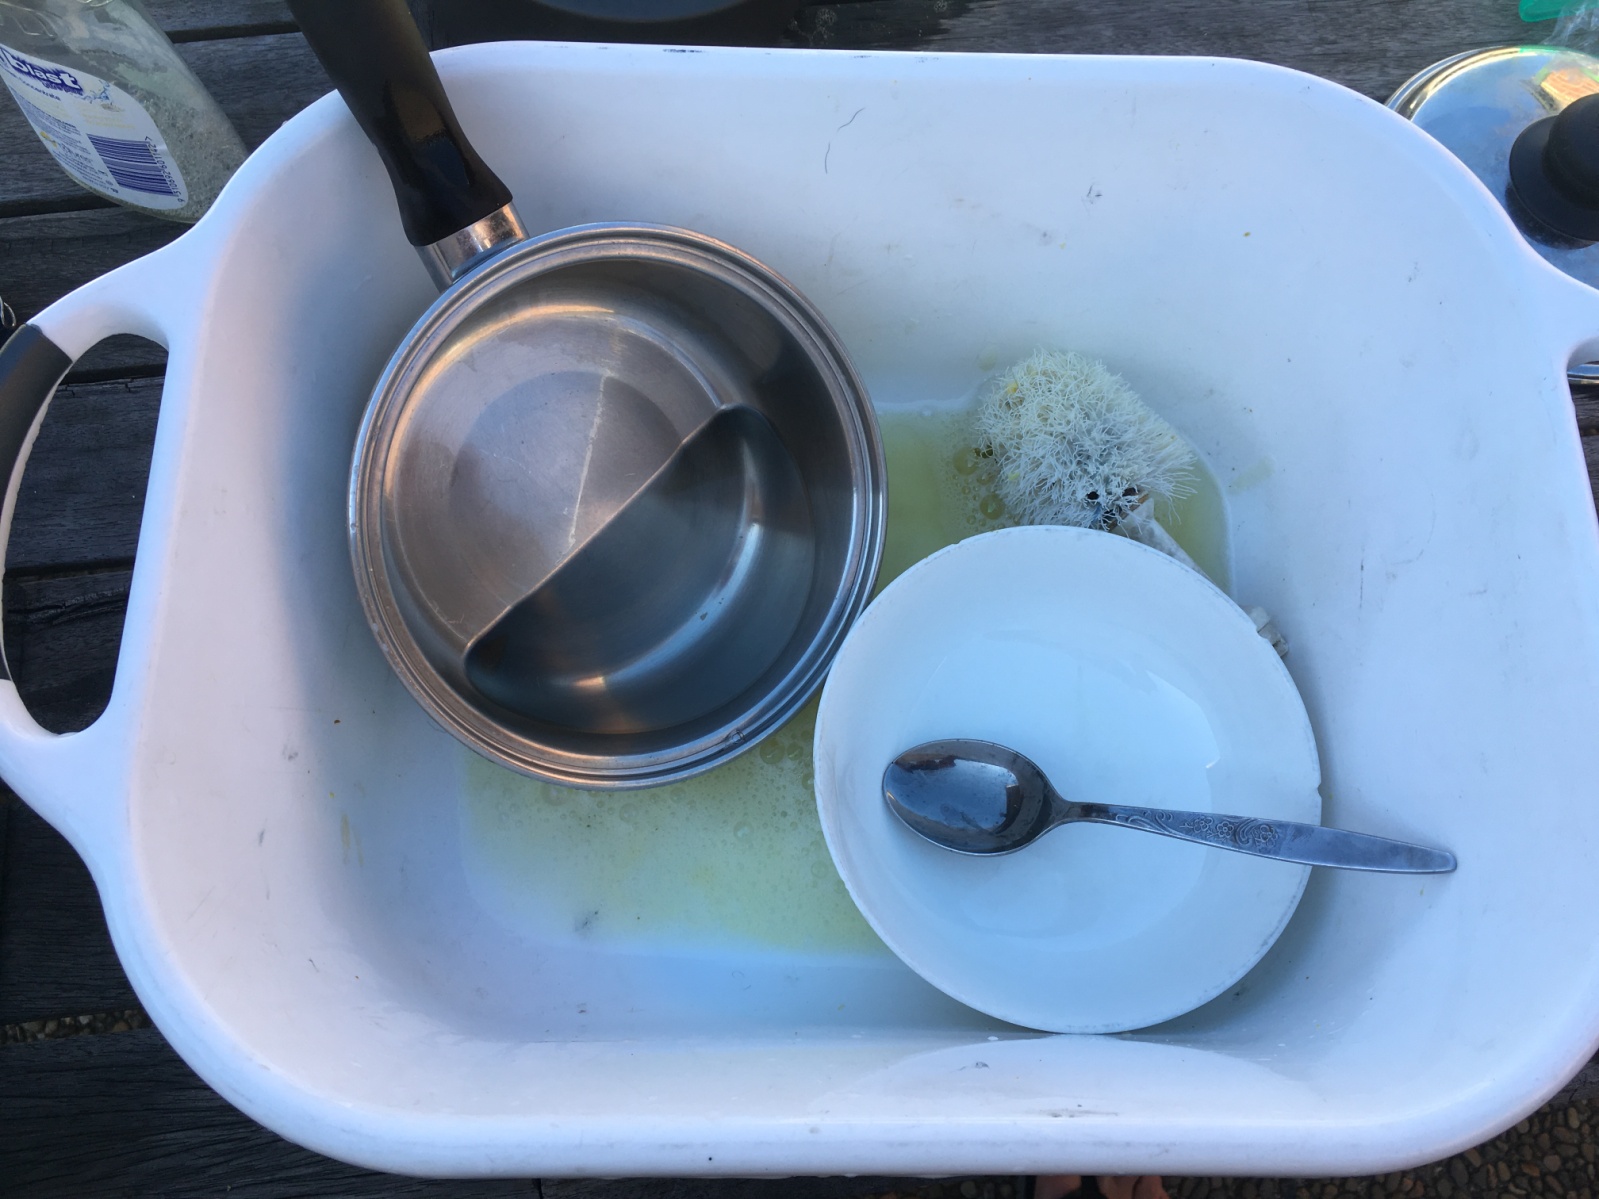
This will have to be the way we do it until the hot water service, water tank, pump, sink and taps are installed.
Recent Comments